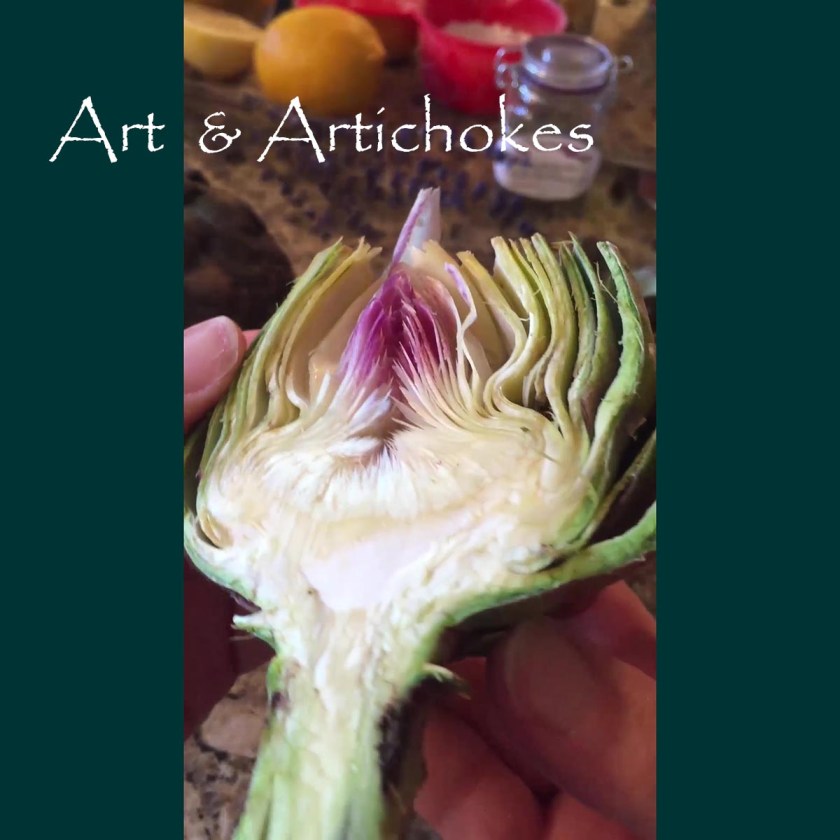
Latest Posts

Roasted Artichoke de Provence

Art and Artichoke

Artichokes are a vegetable that falls into one of my favorite categories of food: edible flowers! Join me as I explore the culinary world and discover the richness of flavors to add color to the palette!

Roasted Artichoke de Provence

  • Servings: 4
  • Difficulty: easy
  • Print

A simple, sophisticated side to pork, fish, or chicken dishes.


Ingredients

  • 2 fresh lemons or 1/2 c. lemon juice
  • 1/2 c. water
  • 4 fresh globe artichokes
  • 4 Tbs. Extra Virgin Olive oil
  • 4-5 tsp. GC Lavender Herbs de Provence

Directions

  1. Rinse and trim artichokes. Cut in half.
  2. Arrange cut side up in baking dish.
  3. Drizzle olive oil over each artichoke half.
  4. Squeeze fresh lemon juice onto each artichoke half.
  5. Season with a generous amount of GC Lavender Herbs de Provence.
  6. Add water to bottom of roasting pan – just enough to keep artichokes from drying out.
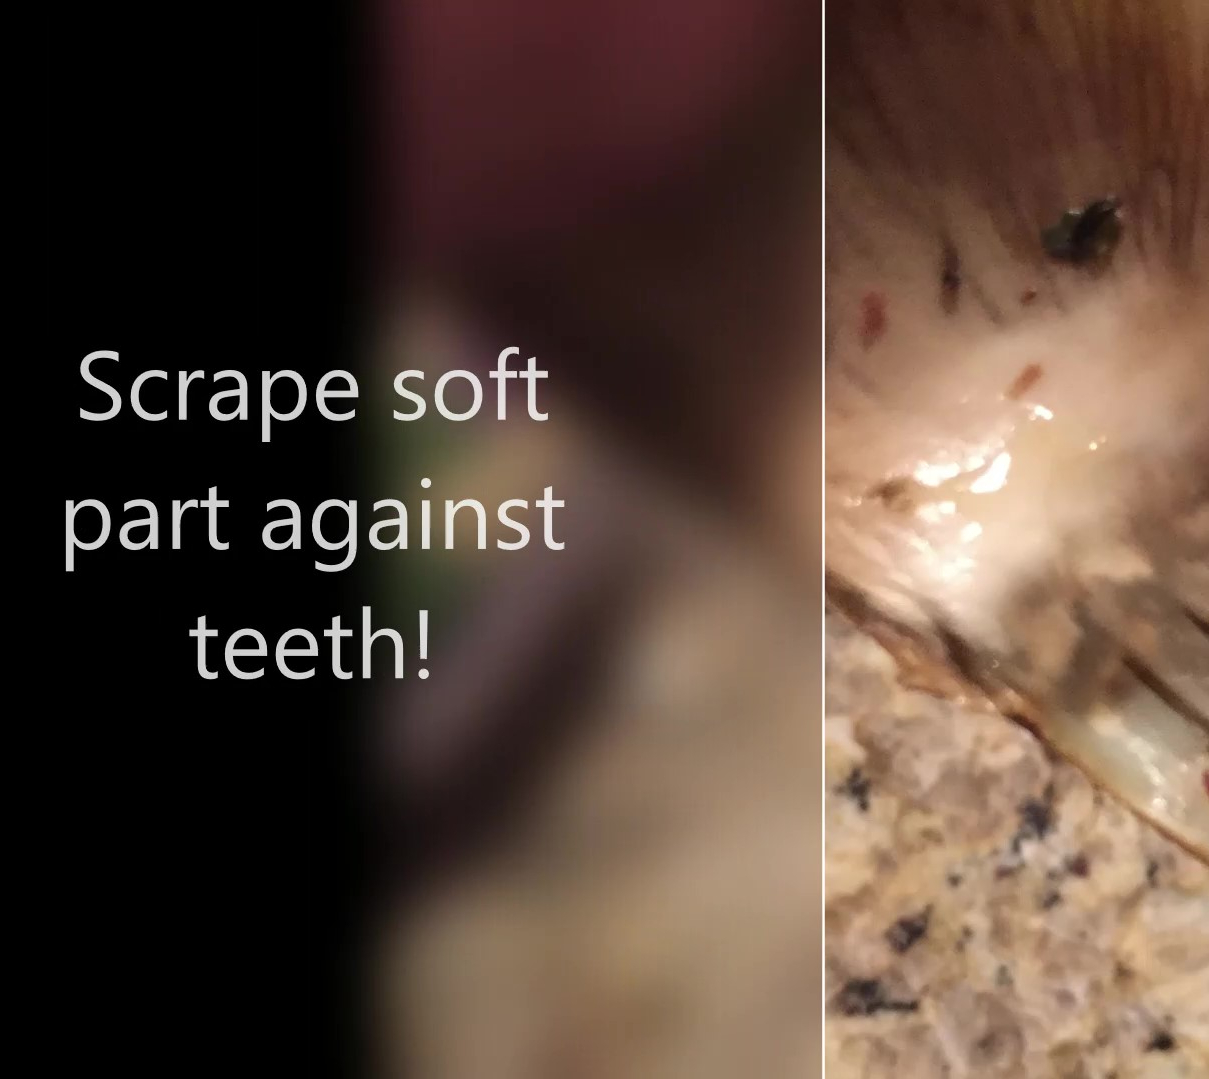
  7. Bake uncovered for 45-50 min. at 375 degrees F.
  8. A Special Note: If you have never eaten fresh artichokes before: The edible part of this fibrous plant is the soft fleshy base of each petal – and is eaten by scraping the soft flesh against the teeth.

Roasted Artichoke de Provence with Euro Glazed Salmon and Diakon Salad

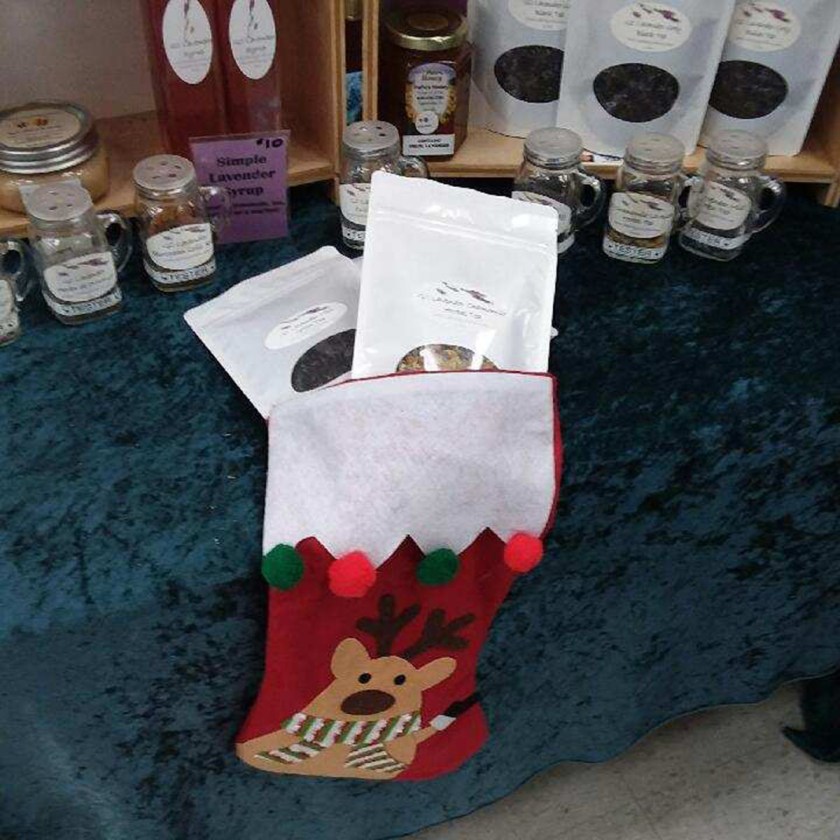
Find GC Herbs de Provence at your local farmers’ market or


If you’ve never tried preparing or eating fresh artichokes, you may find the following video of our artichoke experience helpful. Watch to learn how to trim and prepare this dish.

It’s ok to laugh!
This video will show you how to prep a fresh artichoke!

Also please take care when eating this specialty for the first time: The edible part of the flower bulb is the soft fleshy base of each petal! To eat, scrape the soft part against your teeth. (Trying to eat the whole thing could cause more than minor gastric distress! Way too fibrous!) This was a surprising discovery for me! So much different than the jar artichoke experience! Think delicacy! (OK, like oysters on the half shell – you don’t eat the shell right?!)

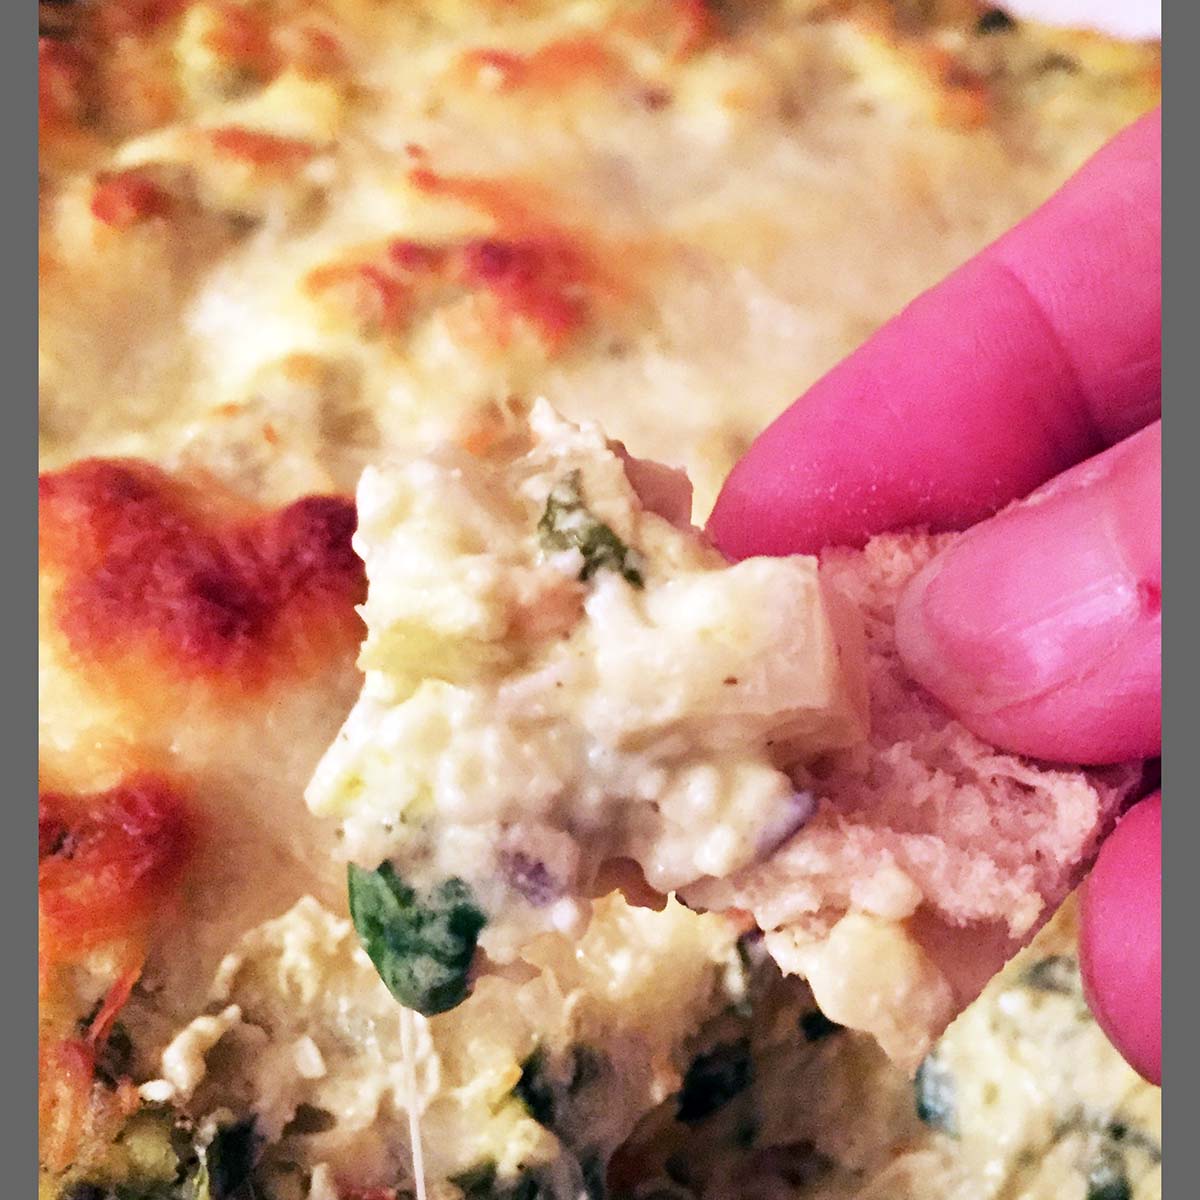
Don’t forget to try our Spinach Artichoke Flower-Heart Dip recipe!

This recipe was featured in Episode #1: Art and Artichokes of the Art for Life Podcast by Gallery’s Choice. Check us out and remember to subscribe!

Spinach Artichoke Flower-Heart Dip

Tastes of the Season

A perennial favorite of beer-side munchies – I couldn’t resist putting my own spin on this crowd pleaser! So grab your favorite artisanal craft brew, some friends and mangia bene artfully!

Spinach Artichoke Flower-Heart Dip

  • Servings: 12
  • Difficulty: easy
  • Print

Crowd pleasing appetizer and beer-side staple.


Ingredients

  • 2 T. butter
  • 1 fresh lemon, juiced and zested
  • 1 T. fresh minced garlic, about 3 cloves (Or 3/4 t. powdered garlic)
  • 1 small carrot, shredded (About 1/3 cup)
  • 1/4 cup onion, minced
  • 1 can or jar (14 – 16 oz.) artichoke hearts
  • 12 oz fresh baby spinach (or 10 oz package frozen) chopped
  • 8 oz. cream cheese (regular or low fat)
  • 1/2 c. mayonnaise (regular or low fat)
  • 1/2 c. sour cream (regular or low fat)
  • 1 c. shredded Italian cheese blend (Or 1/2 c. Mozzarella, 1/4 c Romano, 1/8 c. Asiago, 1/8 c. Provolone)
  • 1/2 c. fresh, grated Parmesan cheese, divided
  • 1 can palm hearts, (14 oz.) chopped
  • 1/2 t. freshly ground black pepper
  • 1 t. GC Lavender Culinary Lavender buds

Directions

  1. Pre-heat oven to 350 degree F.
  2. Saute onion, garlic, and carrots over low heat until tender.
  3. Add spinach leaves, and heat until wilted. Set aside.
  4. Beat cream cheese, mayo, and sour cream until smooth.
  5. Add 1/2 t. lemon zest, 2 t. lemon juice, pepper and lavender.
  6. Stir in onion spinach mixture, 1/4 c. Parmesan cheese, Italian cheese mix along with chopped artichoke and palm hearts.
  7. Pour mixture into a 2-quart casserole.
  8. Top with 1/4 c. Parmesan
  9. Bake at 350 degrees F 15-20 min., until lightly browned.
  10. Garnish with some fresh spinach leaves and lavender buds! Great on toast points, pita bread chips, or tortilla chips.

Find GC Culinary Lavender at your local farmers’ market or

Mangia bene – an Italian expression meaning “eat well”.

While I prefer using the freshest food available, these canned artichokes are perfect for use in this recipe – easy to use and ready to eat!

If you would like to try a fresh artichoke experience, read our recipe for Roasted Artichokes de Provence.

The recipe mentioned in Episode #1: Art and Artichokes of the Art for Life Podcast by Gallery’s Choice. Check us out and be sure and subscribe!

Episode #1: Art and Artichokes

Welcome to our first episode!

Art for Life Podcast by Gallery’s Choice
Episode #1: Art and Artichokes

Welcome to our first episode of the Art for Life Podcast! Check out our show notes below for helpful links to the recipes mentioned in the show.

Show Notes:

In this episode we will inspire you, as we share our story of how one passion for art turned into another for farming! We talk about why we decided to launch a Gallery’s Choice podcast show. And finally we’ll provide some fun foodie antidotes about artichokes, and why you should love them!

Episode #1: Art and Artichokes.

This is the Art for Life Podcast by Gallery’s Choice, and I am your host, Rose Jarecki. Gallery’s Choice’s Art for Life Podcast series. Meant to explore the creative side of life by sharing tips techniques, inspirations and recipes with the goal of living well.  Whether you are an artist, an artist wanna be, a regular Jane or Joe Doe, with some time to kill, I promise there is something in here for all of you. We will talk about our business and how to be a great career creative. We will get you started if you never, or you never knew you could. And we will share anything we discover on the topics of being healthy, happy and wise…

Click here for a .pdf of the full transcript.
https://galleryschoice.blog/wp-content/uploads/2025/04/e7052-episode-1-show-notes-art-and-artichokes.pdf

Resources:

Never prepped a fresh artichoke before? Check out this video (and get ready to laugh!)

Veggie of the Week: Artichokes!

Recipes:

Bonus: Spinach Artichoke Flower-Heart Dip
https://galleryschoice.wordpress.com/2020/01/07/spinach-artichoke-flower-heart-dip/

Roasted Artichokes de Provence
https://galleryschoice.wordpress.com/2020/01/07/roasted-artichoke-de-provence/

Sponsors:

This episode was self-sponsored by Gallery’s Choice. Gallery’s Choice is a family-friendly art and gift gallery with a hands on art focus. Featuring the stained glass art of Rose and Bill Jarecki, the art gallery is home to more than 75 local area artists in a variety of media. In it’s 16th year of operation in the Downers Grove, IL area, the gallery teaches classes for young and old at all skill levels in glass art, including stained glass, fused glass, mosaics; fine art, drawing, painting (watercolor, oils and acrylics), and jewelry including metalsmithing, silver clay, and enameling. For a full line up of current classes, check out https://galleryschoice.wordpress.com/gallerys-choice-classes-and-events/

Special Recognition:

Royalty free music and sounds in this podcast were sourced from the
YouTube Audio Library
with special shout out to the artists of this episode’s featured tracks:
“Your’re There”
“Stacy and George”
By
The Mini Vandals

Quilt Inspired Multi-Media Glass

We are always encouraging our students to think out of the box. And this works tremendously as students gain inspiration from things that speak to them in a personal way.

In this case, it was a quilt decoration, a gorgeous work of it’s own, that lent its energy to a labor of love in glass!

Quilting becomes inspiration for multi-media stained glass art.

By integrating fusing with traditional cold working techniques, our student Sonia was able to adapt the challenges of translating intricate design into glass.

Fusing glass components solved the problems of texture and detail.

Twisted wire and bead work became the final embellishment and added a delicate sense of whimsy to the beautiful glass. The wispy branches seem to sway in front of glass buildings!

Side by side, inspiration and results of perspiration! Just fabulous!

Congratulations Sonia on a fabulous piece of glass work!

Thinking of something fun and inspiring? Join us for stained glass! Or get involved with glass fusing. Check out our website for more details.

Houska Braided Sweet Bread

Houska Braided Sweet Bread

  • Servings: 24
  • Difficulty: moderate
  • Rating: ★★★★★
  • Print

A beautiful bread for any occasion, so flavorful and dense it needs no butter!

Credit: galleryschoice.com Adapted from a student furnished family recipe “Agnes’ Houska”

Ingredients

  • 4 1/2 c. flour
  • 3 eggs (2 in bread dough + 1 mixed with splash cold milk for brushing)
  • 1/2 c. butter
  • 1 t. salt
  • 1 lemon (zested)
  • 1 t. vanilla extract
  • 1/4 t. almond extract
  • 1 1/4 c. milk + a splash of cold milk (for egg brushing mixture)
  • 2 1/4 t. dry active yeast (=1/4 oz.; =1 pkg.)
  • 3/4 c. raisins
  • 1/3 c. slivered almonds
  • 1/2 c. + 1 t. sugar
  • (opt.) 1/2 c. walnut halves

Directions

  1. Start yeast by placing 2 1/4 t. dry active yeast into a cup with 1 t. sugar and adding 1/4 c. gently warmed milk. Set mixture aside and allow foam to rise.
  2. Meanwhile, gently heat 1 c. milk and 1/2 c. butter and 1/2 c. sugar until melted. Let mixture cool until luke warm when added to flour mixture in next step.
  3. Mix 4 c. flour, salt, lemon zest in a large bowl.
  4. Add activated yeast mixture to flour mixture.
  5. Slowly add the milk, butter, sugar mixture (luke warm) to flour.
  6. Beat 2 eggs, almond and vanilla extract in a separate bowl and add to flour mix.
  7. Beat mixture with wood spoon* until it does not stick to spoon. (Add remaining flour – up to 1/2 c. – as needed to achieve this moist but not runny consistency. This will vary depending on humidity!)
  8. Cover with cloth and set in warm place allowing dough to rise until doubled in size.
  9. Meanwhile, soak raisins in water to plump. (Remember to drain before adding to dough!)
  10. Lightly toast slivered almonds by spreading them in a single layer in a jelly roll pan and place in a 350 degree oven for 7 – 10 min. just until fragrant.
  11. When dough has doubled in size, add raisins (drained) and almonds, mix well and let rise again, until doubled in size.
  12. When dough has risen for the second time, divide in half, and then into thirds to make six even pieces.
  13. Roll into strips approximately 20 inches long.
  14. Line a cookie sheet with parchment paper (or grease the sheet).
  15. Braid 3 pieces of rolled dough.
  16. Beat 1 egg with splash of milk and lightly brush the braid. (It will make it slippery so go easy!)
  17. Twist 2 more pieces of dough and place on top of braid. Brush with egg/milk mixture.
  18. Add last section of dough on top. Add walnuts. Bush again with egg/milk mix.
  19. Let mountain of dough rise for about 20 minutes. (Pre-heat oven to 350 degrees Fahrenheit, while you wait!)
  20. Bake at 350 degrees for 45 minutes.
  21. *Yes, you can use your KitchenAid with dough hook for mixing!

With origins of this recipe from Czechia, Poland, Slovakia, Hungary, Germany, Austria among other lands, this bread is as interesting as it is tasty!

Introduced to this fabulous flavor by a stained glass student, Nancy, this bread instantly brought back childhood memories of Sunday bakery fresh sweet bread my dad and brother would enjoy. A Polish bakery staple, this bread (and it’s many modifications) is known in different countries and revered as Easter Bread, Christmas Bread, etc.

According to http://www.thespruceats.com, “Leftovers are great in bread pudding, makówki (Polish poppyseed bread pudding).” But I wouldn’t know, since I have never experienced any left over!

I can verify it makes great base for French Toast, and I would highly recommend using it in a simple stove top stuffing great with pork or chicken dishes. (Try it in a savory stuffing using our very own GC Lavender Herbs de Provence!) I’ll work up a stuffing recipe for another post, so stay tuned!

When I am stacking the raw dough, I feel like I am watching the leaning tower of pisa, sliding over very slowly! I adjust the dough once – twice – then I close my eyes and let it rest and rise the 20 minutes, and with blind faith, place it into the oven!

A beautiful dark crust (Yes MILK and EGG people! It makes a difference!) with a dense center. The taste – bright (from lemon), mildly sweet, smooth – serve warm or cold. I love the fact that I am not craving butter when I eat this (although a small dab is heavenly!) as the bread’s flavor stands alone.

Thank you Nancy for sharing this fabulous recipe! It has become one of my absolute favorites!

Where in the world is GC Lavender?

This season, Mr. Bill sightings are being reported across the land – delivering holiday cheer and GC Lavender products where ever there is a need for a great gift idea!

Catch him out and about at one of the many local shows or specially requested Pop-Up Shop events!

Marmion Christmas Show
Sat., Nov 30, 9-4
Sun., Dec 1, 10-2
Marmion Academy
1000 Butterfield Rd (Rt 56), Aurora

GC Lavender Pop-Up Shop @
203 N. LaSalle
Thurs, Dec. 3, 10-2
203 N. LaSalle, Chicago

GC Lavender Pop-Up Shop @
Oak Brook 1301
Weds, Dec. 4, 11-3
1301 22nd Oak Brook, Lobby West

WALDORF SCHOOL SHOW
Sat, Dec. 17, 11– 4
Waldorf School of DuPage,
30W160 Calumet Ave West, Warrenville

Oswego East Holiday Shoppe
Sun, Dec. 8, 9 – 4
Oswego East High School
1525 Harvey Road, Oswego

GC Lavender Pop-Up Shop @
MID AMERICA
Mon, Dec. 9, 11 – 2
OAK BROOK

GC Lavender Pop-up Shop @
Rosemont
6133 Higgins Rd, Rosemont Lobby
Wed., Dec. 11, 11-2

9399 Higgins Rd. Rosemont Lobby
Thurs., Dec. 12, 12:30-3:30

And, last but not least, we will be one of the featured guests at
Private GC Lavender Pop-Up Event
Thu, Dec. 19, 12 – 6
Hammond Horseshoe casino
in our final GC Lavender Pop-Up Shop event before Christmas!

Can’t make it out? Don’t worry! GC Lavender products are on line for easy shopping with free shipping on orders over $49. But order early! (Please leave enough time for standard shipping before the holidays!)

Feathered Friends

Today we bid fond farewell to a custom stained glass project that completes an entryway and beautifies the setting. The arch joins two sidelight panels previously provided, and warmly finishes the look.

Gallery's Choice Stained Glass arch and transoms
Bill replaces the festive wreath after one of the easiest installations in our history!

Designing the art glass was done in two phases. First, the sidelights were created with glass selection and themes based on the interior room colors and customer preferences.

A highly textured clear was used to create the desired functional privacy, while the blue and grey motif fit with the neutral grey interior. These colors were the perfect offset for the birds, which added just the right pop of color.

Kokomo Textured Clear

This Kokomo Tight Ripple texture is one of my perennial favorites for creating privacy while maintaining the luminosity of the work. And, this glass is manufactured in the Midwest – Kokomo Indiana, USA!

Once the sidelights were in place, the customer requested the arch be designed to complete the ensemble! The design challenge here was to match and complement the glass art already installed and make things look like all three windows were fabricated at the same time!

To accomplish this, the boarders were brought up and over, traveling along the same contours of the arch. By referencing the dimensions of the sidelights’ drawing, we were able to give the arch a clean transition and connection to the side panels. Keeping the glass selection the same throughout was key in establishing continuity.

The special selection of birds added sentimental value, as they stand in remembrance of an avid bird watcher from their family.

It’s the unique little touches in a custom stained glass project that make the work most gratifying. Knowing the piece I deliver has special meaning and value for the customer makes the time spent worth it.

Rose Jarecki, artist

Have an idea for a stained glass project for your home? Contact us and we’ll be glad to get started with a custom stained glass design to meet your unique needs and decor!

Stained Glass Greek Lady

Awe Inspiring Stained Glass

At the gallery, our classes inspire creative thinking beyond the everyday. And our recent students’ accomplishments are really something to be proud of!

In a previous post, we highlighted the use of software to aid in the design of a complicated image for one of our patrons. With a few tweaks and considerations by our expert stained glass fabricators (ahem, “Mr. Bill” and myself), we helped nail the design – to a point. This was where the high tech design required more tech on the fabrication side to make the engineering of glass and solder work! One days training on using a Taurus 3 Ring saw, (one of my favorite tools) and our student was good to go!

Congratulations Mandy!

Joking aside, just a beautiful piece of work that was executed expertly through superb glass selection and tremendous attention to detail! A piece that will be an heirloom! Mr. Bill and I are so proud!!!!

Feeling inspired? Sign up for our Stained Glass classes! Check them out here.

Devine Inspiration

Had to pass this image along, the beauty of stained glass of old captured near the Art Institute in Chicago. Many early windows, with religious themes, designed to tell stories and inspire those who witnessed the work.

So, ask the artist within: what meaning does your work have? What are you trying to communicate?

It can be as simple an answer as: “I want these colors to make people feel happy”.

I think if we think of our work as a way to communicate, we answer the question “why should I do this,” and we understand why our artwork matters!

Enjoy!